
|
|
|
Webmail
Webmail provides ability to check email with no email client software to be installed
on your local machine. All hosting plans supporting email provide a webmail interface
as part of feature set.
- Hosted Plan Webmail: To access your webmail interface you simply
type in your browser your website address followed by forward slash webmail. Example:
http://www.domain.com/webmail
- Infoconex Webmail: For users that have @infoconex.com
email addresses you use the following website address
http://webmail.infoconex.com
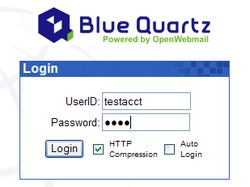
- Login: Enter username and password and then Click login.
Note you can check the box "Auto Login" if you want the webmail program to remember
your username and password and automatically login when going to webmail. Not recommended
if multiple people use the same computer to access this site.
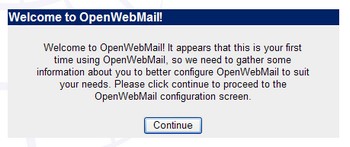
- Welcome Screen: You will see this screen if this is the first time
you have logged into your account. Simply click continue.
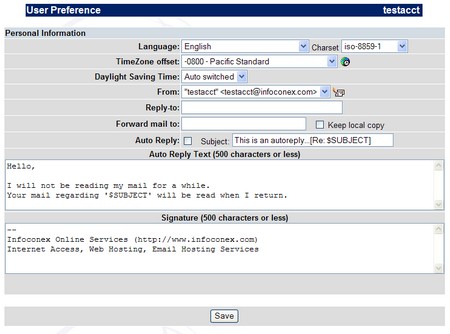
- Preferences: This screen you will also see if logging in for your
first time. Make sure to change the TimeZone offset to reflect your timezone. Also
if the From is not properly reflecting your email address select from the dropdown
the account that does. Click Save at the bottom when finished.
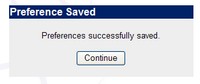
- Preferences saved confirmation: Click Continue
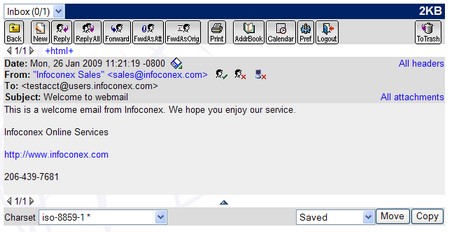
- Inbox Inbox is the location you will use to view all your email.

- Reading Email: Click on the subject of the email
you want to read
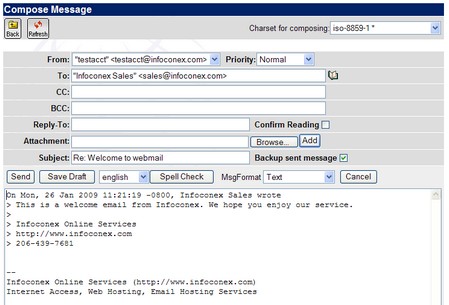
- Replying to Email: While reading an email you can click the Reply
button or Reply All if there are multiple email recipients to reply to the email.
The following screen shows you an example window once clicking reply. Simply type
in your reply and click send.
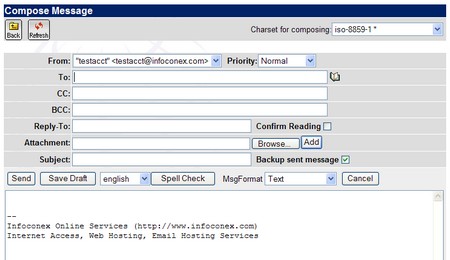
- Compose New Email: While on the inbox screen you can click the
New button and will see a screen like the following. Simply type the person you
want to send the email to in the To box and type your message and click send.
|
|
|
Contact Us
(206) 439-7681
(877) 305-5146
P.O. Box 5485
Kent, Washington
98064
|
|
|
|
|
|